Customize Your Brand Settings
How to Access Brand Settings
- Log in to your Shopify admin dashboard.
- In the left-hand sidebar, scroll to the Sales Channels section.
- Click Reactiv – Mobile App Builder, then select App Studio.
- Click your company logo at the top of the page and select App Settings.
- From the top menu, click Brand.
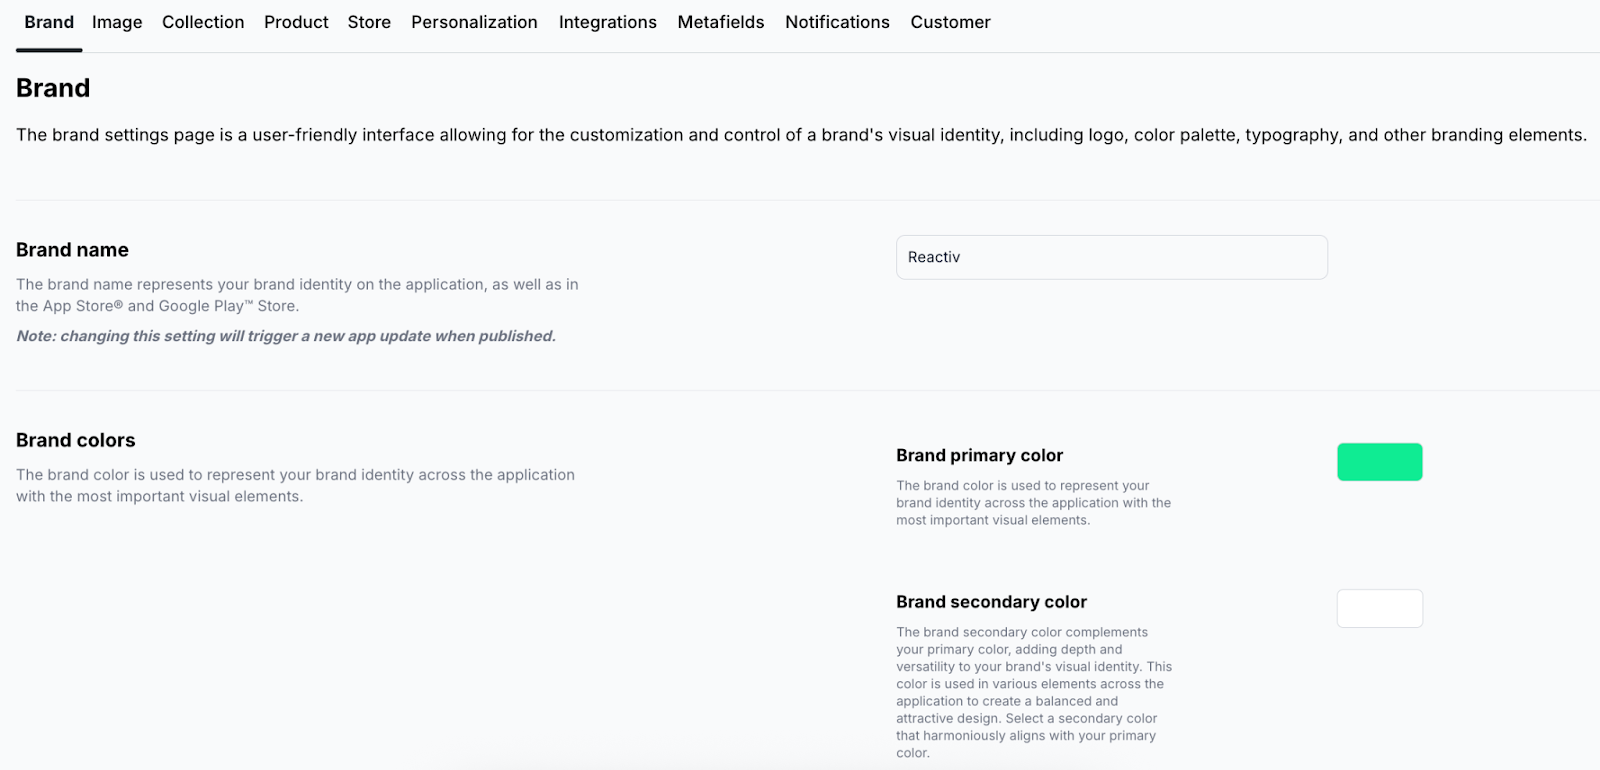
Available Settings
Brand Name
Update the name displayed in your app and on the App Store or Google Play.
Note: Changing this will trigger a new app update when published.
Brand Colors
Define your primary brand color and optional secondary and button label colors:
- Brand primary color – Used throughout the app for key brand elements.
- Brand secondary color – Complements the primary color for visual depth.
- Brand button label color – Sets the color for button text to ensure readability and contrast.
Brand Logo
Upload the logo that appears in the app header.
- Minimum height: 48px
- Max size: 400KB
App Icon
Upload the icon used for your app on the App Store and Google Play.
- Required size: 512×512px
- Max size: 400KB
Follow Apple’s and Google’s guidelines when preparing your icon.
Note: Updating this will also trigger a new app release.
Splash Screen
Upload a high-resolution image shown when the app launches.
- The image is auto-cropped and resized for iOS and Android.
- Center your main subject to avoid cropping.
Note: Changing the splash screen requires republishing the app.
Typography
Choose a font from Google Fonts to apply across the app for a consistent brand feel.
Radius
Adjust the border radius of app elements (e.g., image tiles) to control corner roundness.
- Options range from none, small to large.
Item Outline
Toggle this on to show a gray border around items in product listings.