Setting up Simple Bundles with Reactiv
This guide will help you integrate Simple Bundles for product bundles with your Reactiv Mobile App.
Step 1: Verify your Bundle Metafields
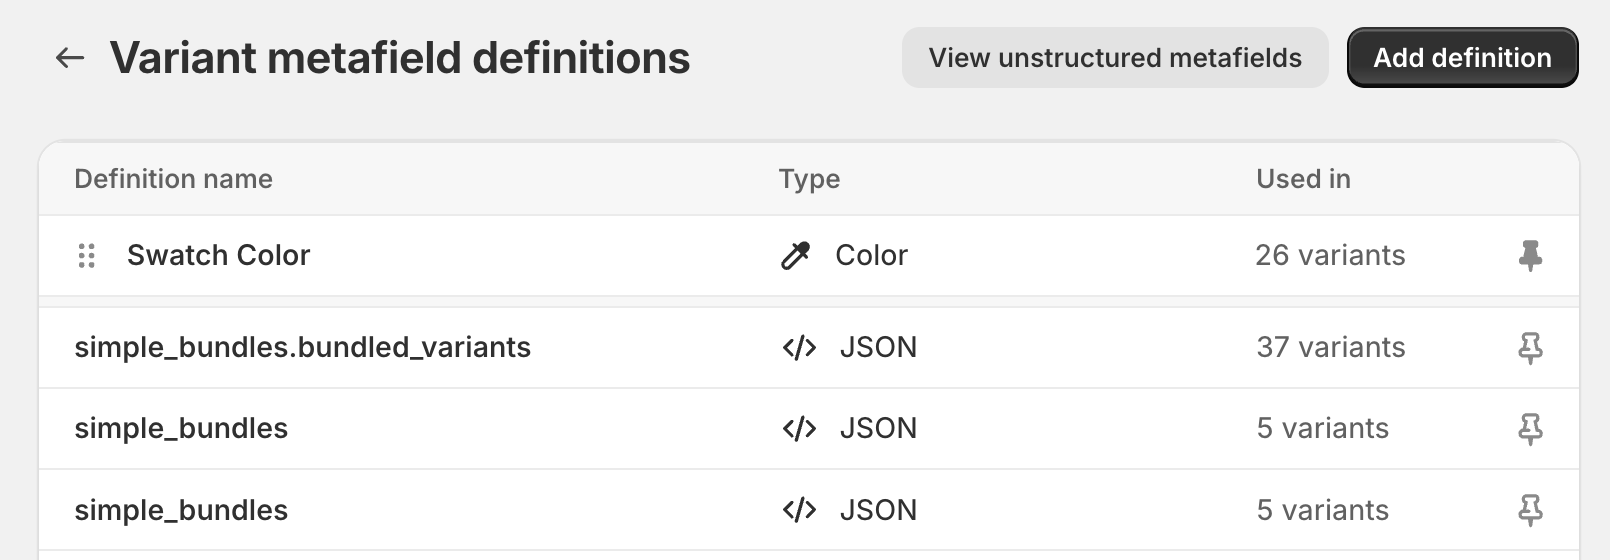
- In your Shopify admin, go to Settings > Custom data > Variants.
- Look for the bundle metafields on this page:
- ✅ If they are defined, you’ll see them listed here.
- ❌ If they are not yet defined, click View unstructured metafields. The metafields will always appear here since Simple Bundles automatically creates them when bundles are set up.
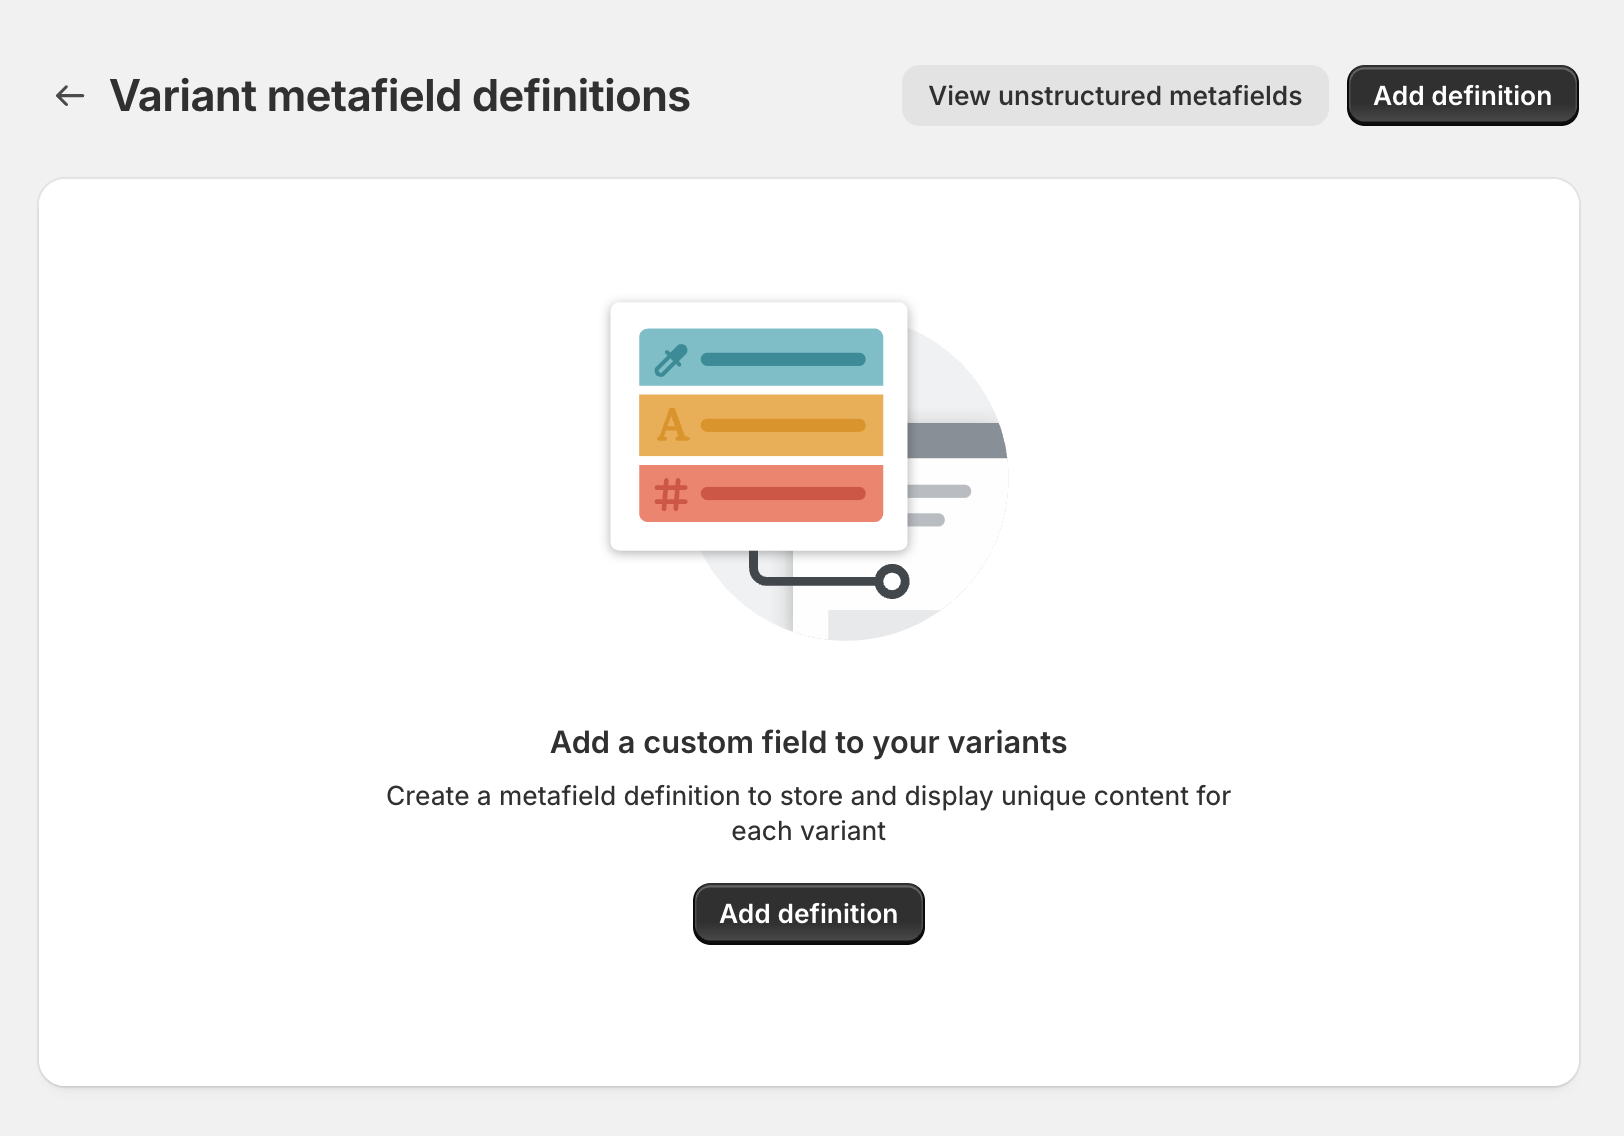
📌 Next Step: If the bundle metafields appear under "Unstructured Metafields," you’ll need to define them.
🔗 Need more details? Check out Shopify’s metafield documentation.
Step 2: Add Definitions to Your Metafields
Now that you've located the bundle metafields, you'll need to define them.
-
In Admin Settings > Custom data > Variants > View unstructured metafields, you’ll see three metafields:
- simple_bundles.bundled_variants
- simple_bundles.variant_options
- Simple_bundles.variant_options_v2
-
Click Add Definition next to each metafield.
-
You’ll be taken to the next screen to complete the setup.
📌 Next Step: Configure each metafield’s definition.
Step 3: Define Your Metafields
Now that you've added definitions to your bundle metafields, it's time to configure them.
-
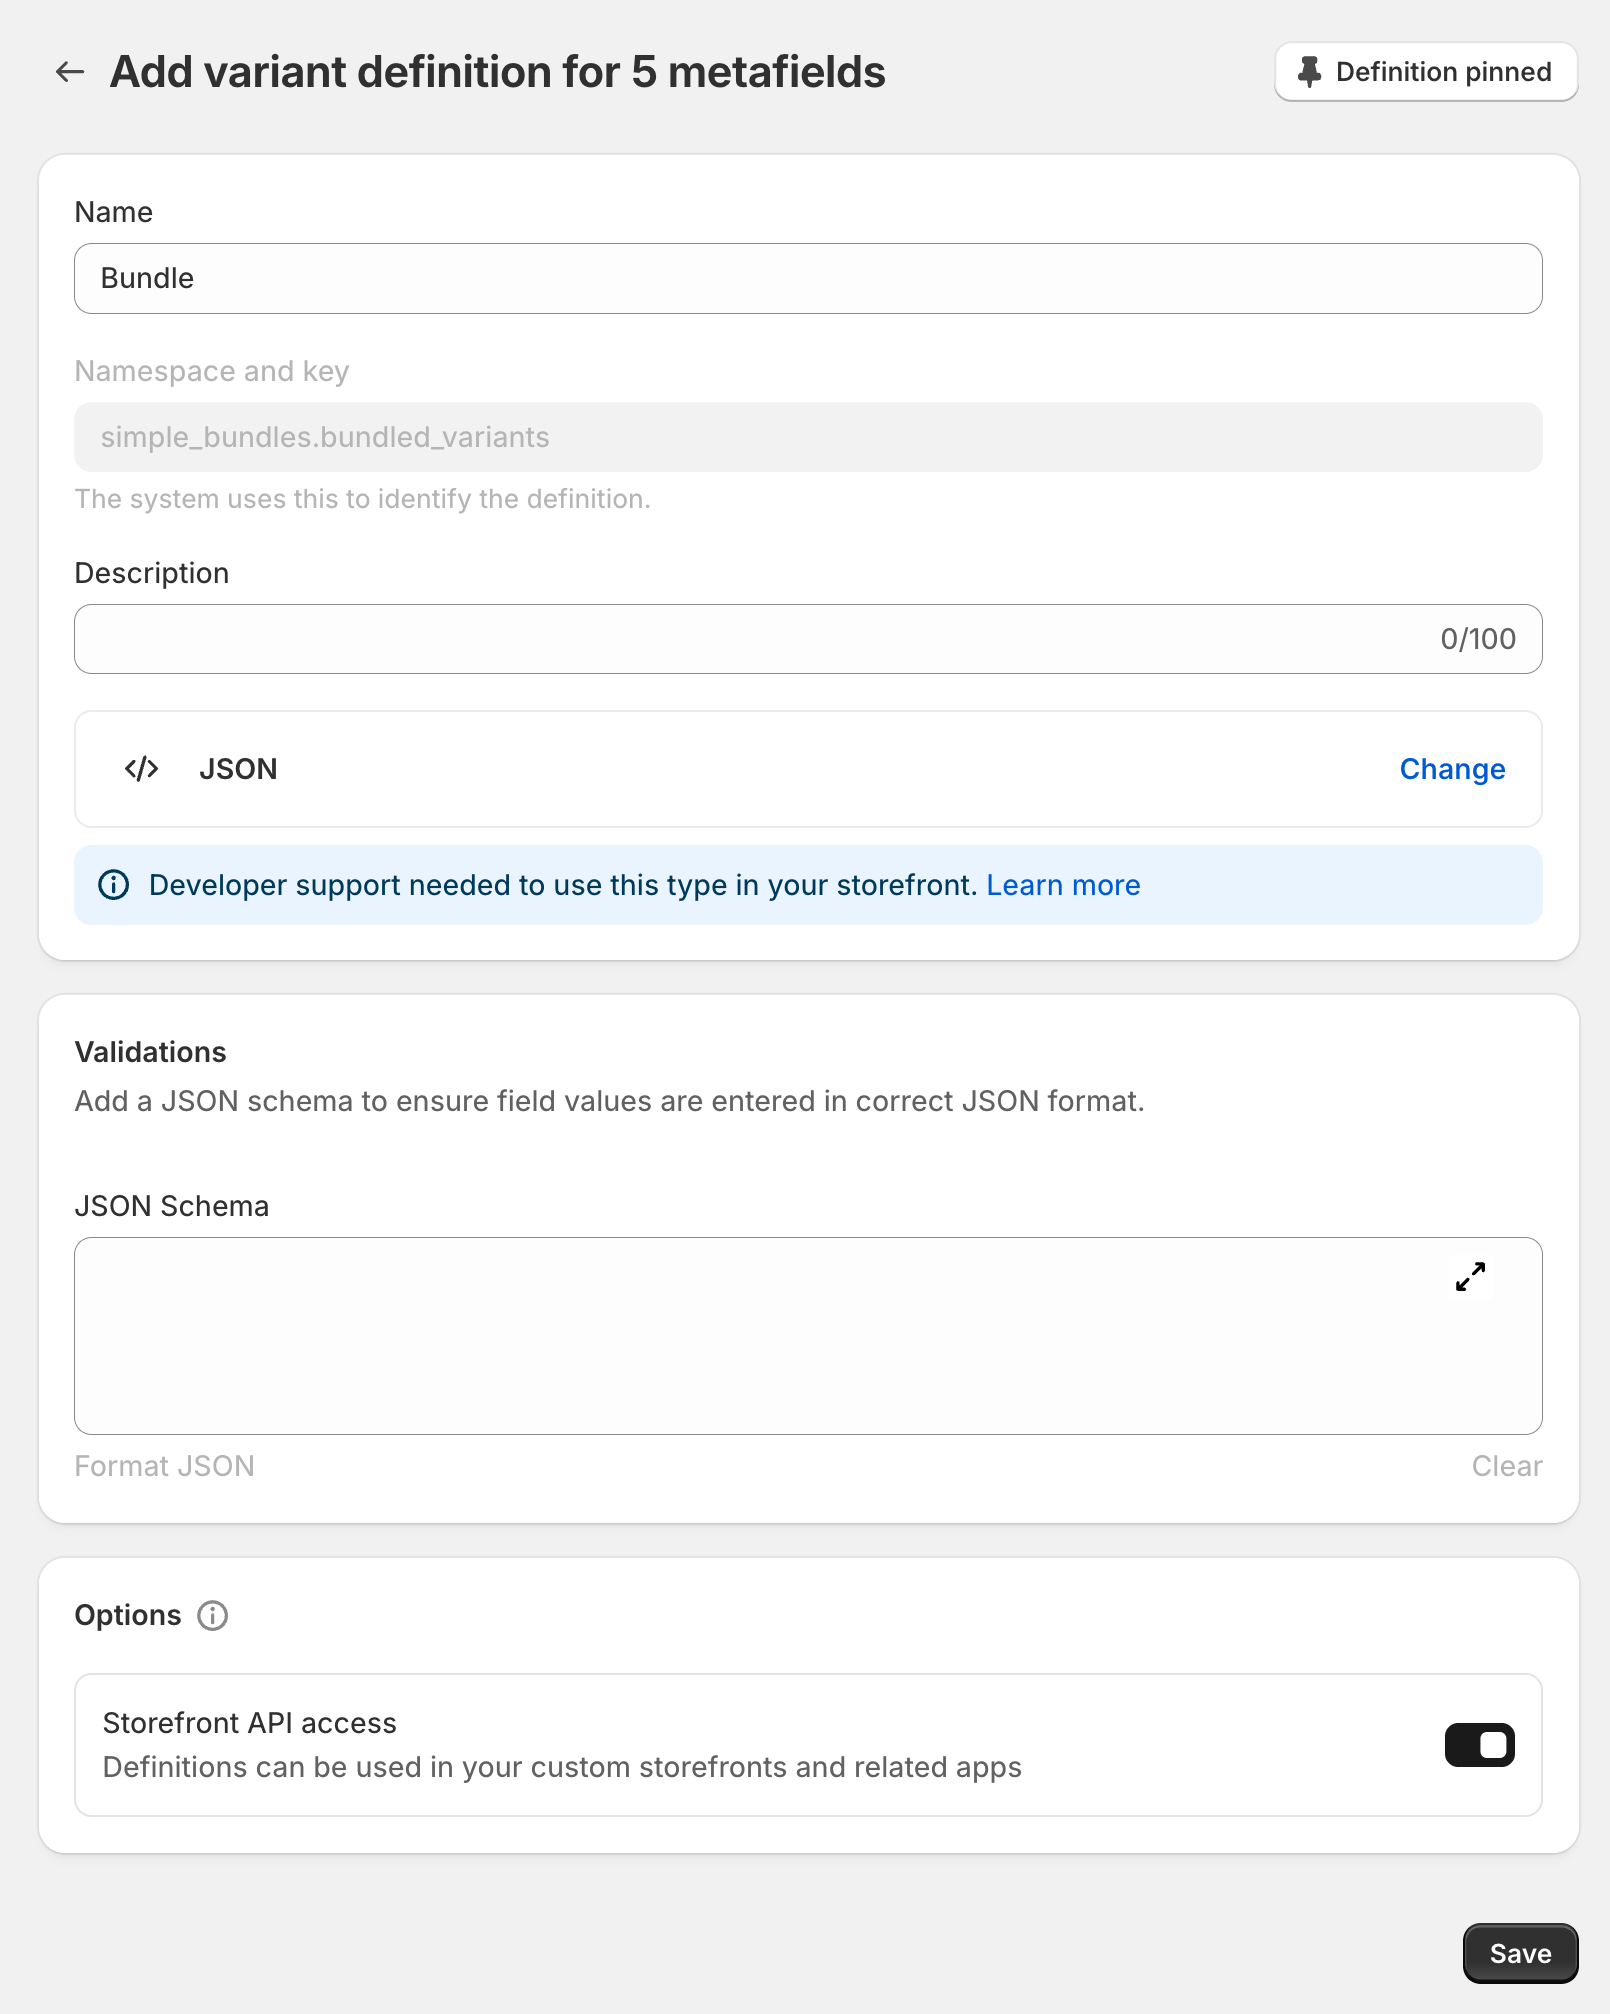
Give each metafield a name – This is for internal tracking, so choose something that helps you and your team easily identify it.
-
Select the definition type:
- Click + Select Type
- Choose </> JSON from the dropdown
-
Click Save
-
Repeat these steps for the other two bundle metafields.
📌 Next Step: Your bundle metafields are now set up and ready to use with Reactiv! 🎉
Step 4: Enable the Simple Bundles Integration in Reactiv
Now that your metafields are set up, you’ll need to enable the Simple Bundles integration in your Reactiv dashboard.
-
Enable Simple Bundles in Integrations:
- Go to Reactiv > Integrations
- Click Connect on Simple Bundles
- Click Enable, then Save
-
Select Simple Bundles as Your Bundles Provider:
- Go to App Studio > Logo dropdown > Account Settings > Integrations
- Find Bundles Provider
- Select Simple Bundles from the list
- Click Save
🎉 That’s it! Your Simple Bundles integration is now live in Reactiv.
Step 5: Build, Preview, and Publish Your Mobile App
With the Simple Bundles integration enabled, you can now start building and previewing your mobile app in Reactiv.
- Customize and refine your app’s design and functionality.
- Preview your app to see how it looks and works.
- Once you’re ready to share it with customers, click Save and Publish.
🚀 Your mobile app is now live! Customers can start experiencing your store with bundled products powered by Simple Bundles.